

The Secret to Photo Ready Makeup
These 4 Tips Will Help You Apply Photo Ready Makeup
In an Instagram Age, photo ready makeup is critical. Unless you’re trying to have James Charles’ Casper face gate, you want to make sure that your makeup is done properly before stepping in front of a camera! While this may sound like a daunting task involving a lot more makeup than you may want to wear, it doesn’t have to be that way! To be clear, applying photo ready makeup does not mean caking it on, babe. These four easy steps below will prove why.
Always use a primer
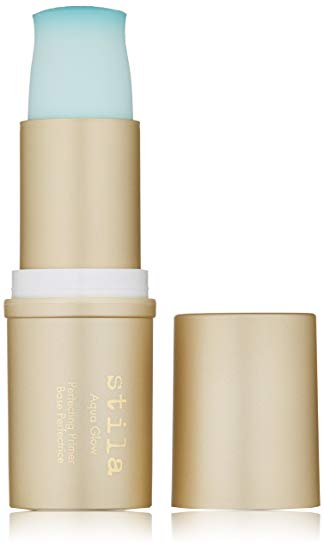
One of the biggest mistakes people make is not applying primer (or applying an inadequate product) before their foundation. Primer is essential for creating the appearance of smooth, airbrushed skin – the perfect canvas for photo ready makeup. It evens out skin, allows your foundation to go on more smoothly, and lasts longer. The ideal primer isn’t sticky or thick, and dries as you apply it. Stila’s Aqua Glow Perfecting Primer and The Perfect Face’s Face Canvas Primer are two primers that we absolutely love!
Use a matte foundation
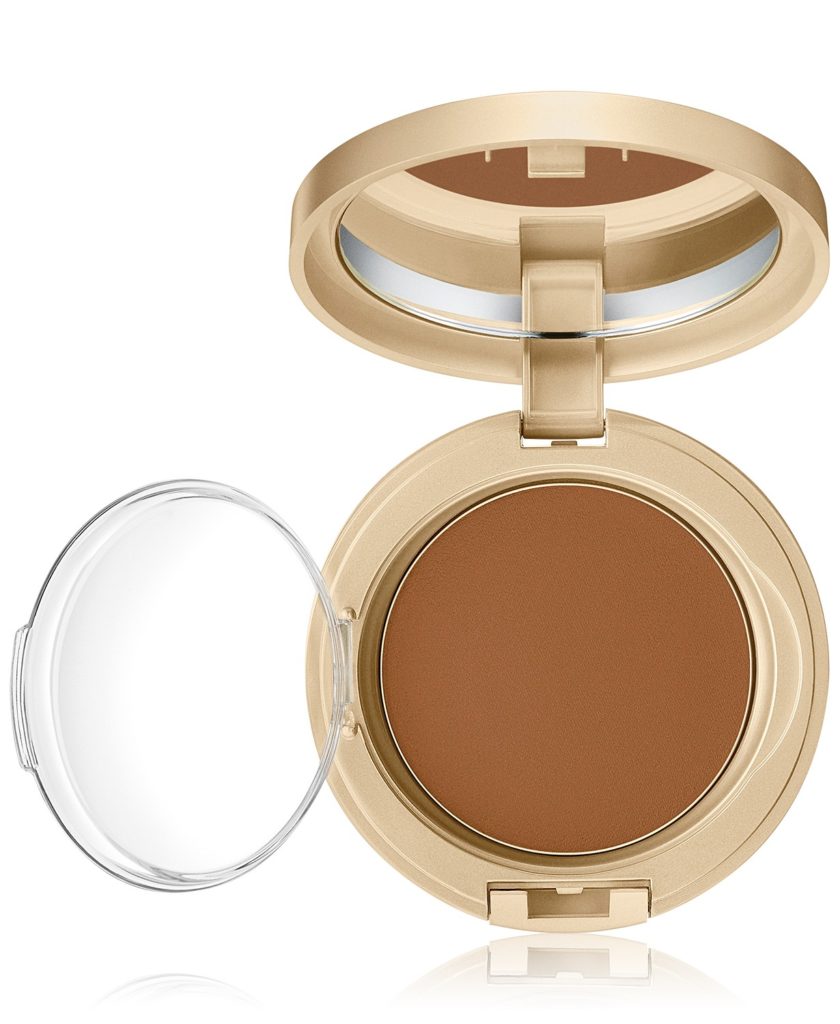
Oftentimes, photo ready makeup calls for matte foundation. Most matte foundations allow for an airbrush finish and prevent glares from oil and shine. One of our editor’s absolute favorite beauty products and something she can’t go a day without is Stila’s Perfectly Poreless Putty Perfector. The putty texture of the foundation blends it naturally with the skin and creates a smooth finish. We love that this foundation is “buildable”; you can layer it with other products without it becoming cakey.
Highlight, don’t contour
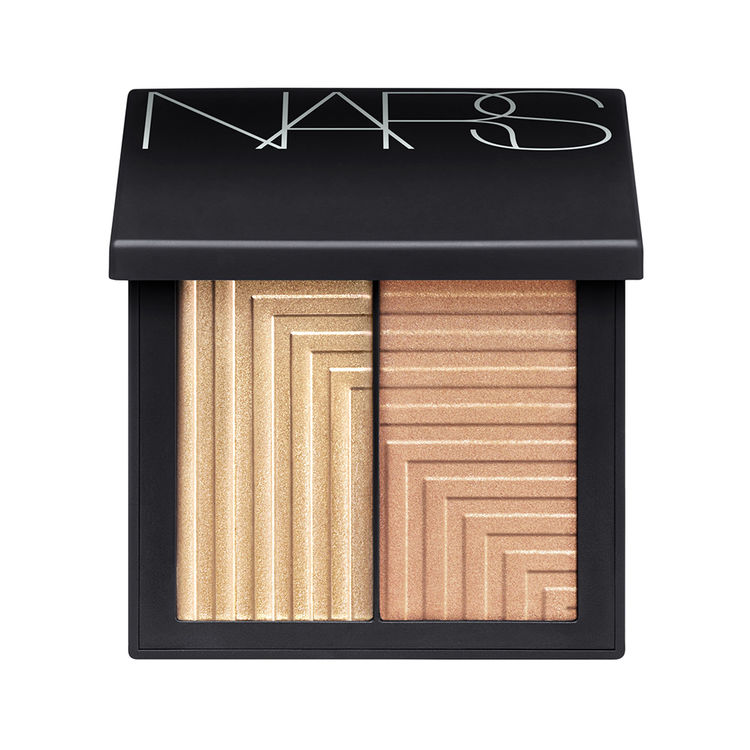
If done incorrectly or excessively, contouring can look really harsh! While some occasions call for the “oomph” of contouring, you can skip the routine you learned on YouTube most days. Instead of applying liquids that will ultimately look cakey or dull, opt for powders that will give the same illusion. Two products we recommend are both by NARS Jubilation Dual Instensity Blush and Seduction. Jubilation is a golden-silky blush that creates a bright, sun-kissed glow. Apply it at the top of your cheekbones, in the corners of your eyelids, on your brow bone, and down the center on your nose bridge.
Seduction is a warm, pink blush that creates sculpted shadows. Apply a well-blended line under your cheekbones, a little on your temples, and a little on your jaw line (directly under your temples). When the flash of a camera phone goes off, or when you’re just standing in really good lighting, these powders create natural looking lines that accentuate your beauty.
Make sure your eyebrows are even
If you really want photo ready makeup, you must make sure your face looks as symmetrical as possible. No one’s perfect, so the probability of one side of your face being completely symmetrical to the other is slim, but there are ways to fake it. One of the easiest ways is to use your eyebrows. Chances are they aren’t 100% identical either – remember eyebrows should be sisters; not twins. Ensure that both of your brows begin where the corner of each of your eyes begin and end at the outside corner (use a straight edge to check) This will frame your face and create the illusion of symmetry. Use a small angled brush and dark brown eye shadow to fill in your brows.


Related posts